APPLICATION & CARE GUIDE
How to Apply Press-On Nails for a Longer-Lasting Manicure
Getting press-on nails to look natural and stay secure does not depend on heavy adhesives or harsh chemicals. In practice, thoughtful nail preparation and clean technique are what create a dependable bond. Here is how to prepare your natural nails, choose the right adhesive for your plans, apply with care, and remove nails gently when you are ready for a change.
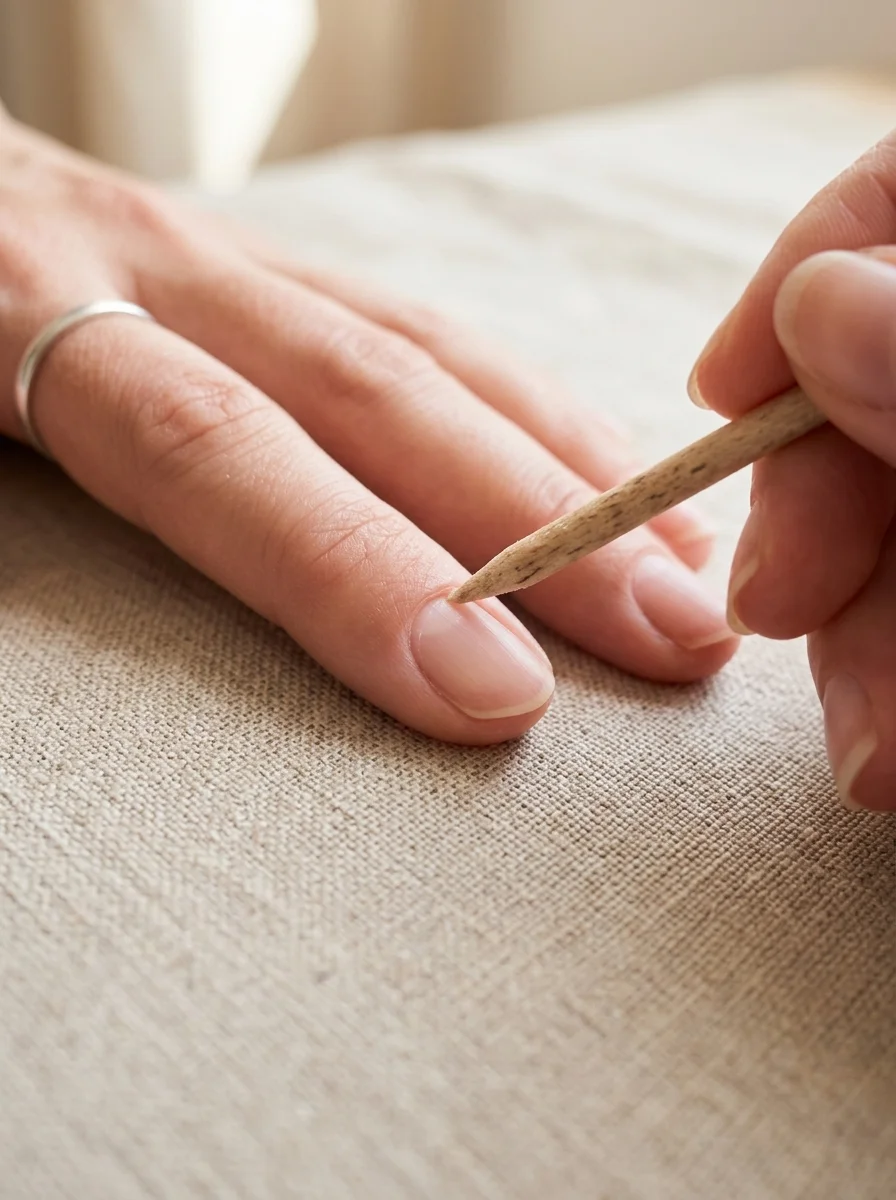
Pre-Application Step: Confirming Your Sizing
Before opening adhesives or filing, lay out your full set and verify the fit against every finger. A press-on nail that is too narrow creates tension along the lateral sidewalls and is more prone to early lifting or discomfort. A nail that is too wide overlaps the skin folds, which increases the likelihood of catching on everyday items.
If you have not yet measured your nail beds, consult our step-by-step millimeter sizing guide to record your exact dimensions before starting.
Step-by-Step Natural Nail Preparation
The surface of a natural nail naturally produces moisture and oils that prevent adhesives from forming a continuous bond. Taking a few minutes to clean and prep the nail plate creates the optimal foundation for hold.
1. Cleaning and Trimming
Start with clean, bare hands. Remove any leftover polish or nail treatments. Trim your natural nails so they do not extend beyond the free edge of your press-ons, and shape the edges with an emery board so there are no jagged corners.
2. Gentle Cuticle Care
If needed, gently push back the cuticles without soaking the nail plate immediately before application. If your hands have been exposed to water, allow the nails to dry completely before continuing with adhesive preparation.
3. Light Surface Buffing
If buffing is recommended for the chosen adhesive, use a fine-grit buffer with very light pressure to remove surface shine only. Do not aggressively file or thin the natural nail.
4. Dehydration and Cleaning
Clean the nail plate according to the adhesive manufacturer's instructions. If alcohol is recommended, use an appropriate alcohol wipe on a lint-free pad and allow the nail to dry completely before application. Do not use acetone unless it is compatible with the adhesive and nail system you are using.
Choosing Your Adhesive: Sticky Tabs vs. Liquid Nail Glue
Different events and lifestyles call for different adhesive methods. Rather than one universal choice, match your adhesive to how long you intend to wear the design and whether you plan to reuse the nails.
Adhesive tabs are often chosen for temporary wear and easier removal, while nail glue is generally used when longer wear is desired. Actual wear time varies with the adhesive, nail preparation, nail condition, application technique, and daily activities.
| Adhesive Type | Primary Advantage | Removal Experience | Nail Reusability |
|---|---|---|---|
| Adhesive Tabs | Quick application; no chemical glue residue | Peels off cleanly with gentle warm-water soak | High (preserves underside of artificial nail) |
| Liquid Nail Glue | Low-profile, flush fit against the cuticle | Requires patient soaking to soften bond | Depends on removal care and adhesive residue |
When selecting a set, check what application accessories the seller provides. Our press-on nails buying checklist outlines what to verify regarding kit contents, glues, and seller policies.
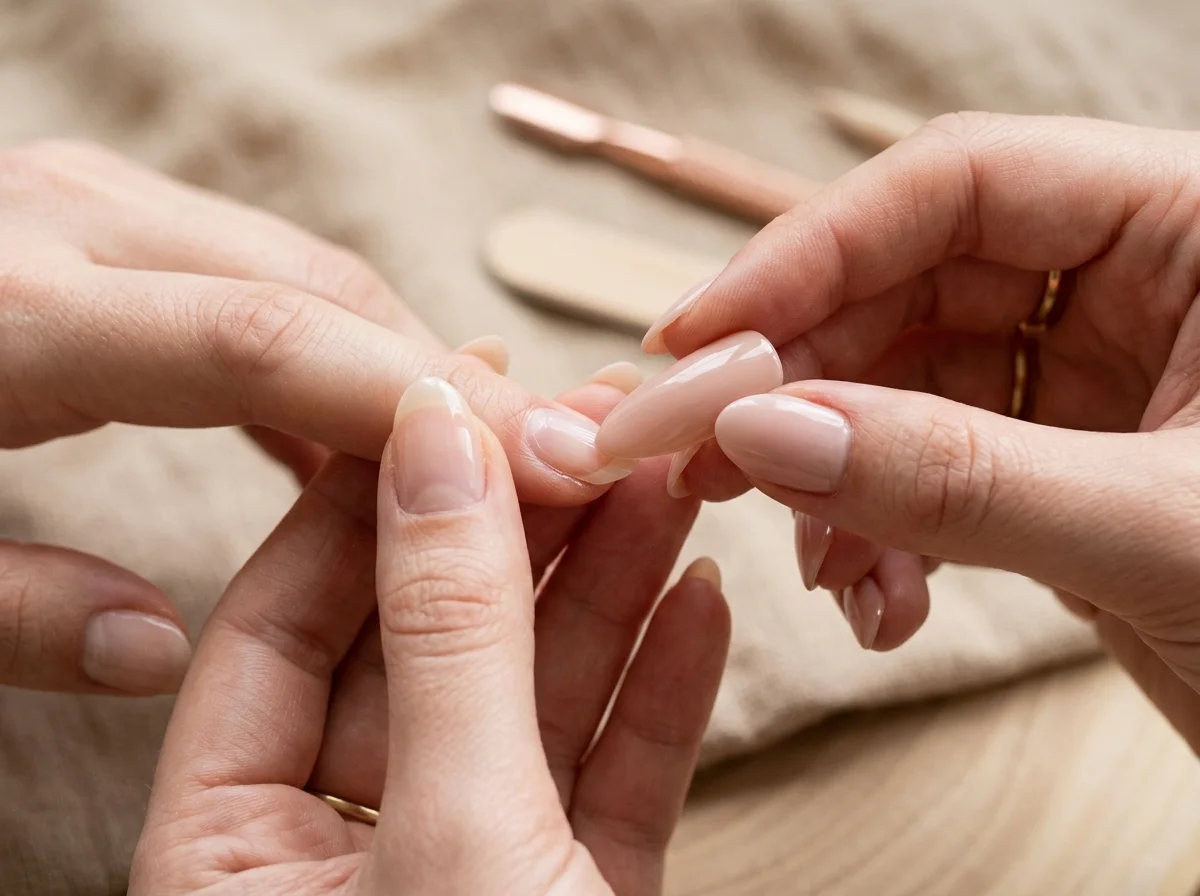
The Application Process: Bonding for Consistent Hold
Positioning From Cuticle to Tip
Position the press-on from the cuticle edge toward the tip, following the application instructions provided by the nail or adhesive manufacturer. A slight angle can help reduce trapped air when the product design allows it.
Adhesive Application
Follow the adhesive manufacturer's application instructions. If the product permits application to both surfaces, use only the recommended amount and avoid contact with the surrounding skin and cuticles.
Applying Sustained Pressure
Apply steady, even pressure for the amount of time recommended by the adhesive manufacturer. Keep the press-on stable while the adhesive sets and avoid shifting it during this period.
The Post-Application Window
Avoid soaking your hands in hot water, taking long baths, or applying heavy lotions or oils for the first 1 to 2 hours following application. This initial window allows the adhesive bond to settle undisturbed.
Daily Habits That Protect Your Manicure
How you use your hands throughout the day directly influences how securely your manicure stays in place:
- Use finger pads, not nail tips: When typing on keyboards, opening cans, or unbuttoning clothes, rely on the pads of your fingers rather than using the tips of your press-ons as tools.
- Protect against prolonged hot water and harsh detergents: Wear protective gloves when washing dishes or using household cleaning solutions. Detergents break down adhesive bonds over time.
- Care for embellishments: If you wear sets with raised decorations or delicate metallic finishes, be mindful around knitwear. Read our guide to nail finishes and 3D floral accents to understand how textured decorations behave.
How to Remove Press-On Nails Safely
Proper removal is essential for maintaining smooth, healthy natural nails beneath your artificial sets.
Crucial Safety Warning: Forcing an artificial nail off can pull or damage layers of the natural nail, potentially causing peeling, sensitivity, or thinning.
Removal depends on the adhesive used. For products designed to soften with soaking, warm water, mild soap, and cuticle oil may help loosen the bond. Never force, pry, or pull a firmly attached press-on. If it does not release easily, continue following the adhesive or nail manufacturer's removal instructions rather than forcing it.
Post-Removal Recovery
After removal, wash your hands thoroughly. If residual adhesive remains on your natural nail, gently buff it away with a very fine buffer block. Finish by massaging a generous amount of jojoba or cuticle oil into your nail beds and cuticles to restore natural moisture.
Adelline Store Collection Previews
Adelline Store publishes curated nail design inspiration and collection previews. Orders and checkout are not yet active. When our shop opens, every set will include explicit sizing options and recommended care guides. In the meantime, you can explore our aesthetic previews in the design collection or save your favorite looks from our nail inspiration gallery.
Frequently Asked Questions About Press-On Application
Why do my press-on nails pop off after only one day?
The most common cause is invisible natural oils or moisture left on the nail plate before application, or air pockets trapped beneath the artificial nail. Thoroughly pushing back cuticles, lightly easing surface shine, cleaning according to manufacturer instructions, and holding firm pressure during application help build a more dependable bond.
Can I reuse press-on nails after wearing them?
Reuse depends on the condition of the press-on and the adhesive used. Adhesive tabs are generally easier to remove while preserving the underside of the artificial nail. With nail glue, reuse may not be practical if adhesive residue, filing, bending, or damage affects the underside. Follow the product manufacturer's removal instructions.
How do I remove press-on nails without damaging my natural nails?
Removal depends on the adhesive used. For products designed to soften with soaking, warm water, mild soap, and cuticle oil may help loosen the bond. Never force, pry, or pull a firmly attached press-on. If it does not release easily, continue following the adhesive or nail manufacturer's removal instructions rather than forcing it.
Should I apply glue to my natural nail, the press-on, or both?
Follow the adhesive manufacturer's application instructions. If the product permits application to both surfaces, use only the recommended amount and avoid contact with the surrounding skin and cuticles.
Keep exploring
Photo gallery · French tip design guide · Sizing guide · Almond vs square guide · Nail finishes guide · Buying checklist · Explore collection